We’re bringing you some festive inspiration, as the wonderfully talented Lorinda Mamo from A Bird With A French Fry takes over our Crafty Corner!
Paper-Roll Snowflake Craft
by Lorinda Mamo
I love doing crafts; if you know me you’ll know! I love them all year long, but there is something so much more exciting and fun when doing them around holidays and festivities. When Christmas rolls along, I am always on the lookout for inspiration and ideas for the next crafts to do and there usually aren’t enough days (or table space) to do all the things I want – and I have been like this ever since I was a child.
My favourite kinds of crafts are also those projects that repurpose items we use on a regular basis. It’s so rewarding to be able to make lovely things out of ordinary items we find around the house. I also revel in the ‘ohs’ and ‘ahs’ from surprised little ones when they see how beautiful something as ordinary as a toilet paper roll can turn out. I love watching their eyes light up as their creativity unfolds.
I know that many children have found a new love for crafts and creativity but are also bored of the same things, so I always try to do projects that will keep kids engaged long enough to hold their attention.
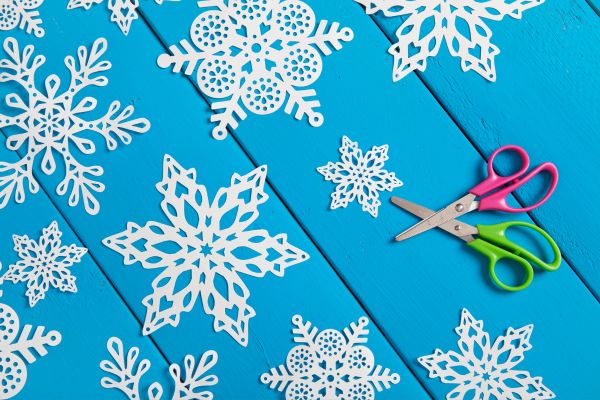
This paper roll snowflake craft is just that – easy, fun, and quick with super cute results that are nice to display. The best part is that it is open to different results when different shapes are put together in repeating patterns. Snowflakes can even be looked at in a mathematical way (but don’t tell THEM that).
To make this paper roll snowflake you’ll need a few basic supplies. Make more than one and you’ll have a beautiful display of glittery snowflakes. You can even go a step further and make them different colours.
You will need:
- Toilet paper or paper towel rolls
- Scissors
- Hot glue gun
- Glitter glue or glue and glitter (optional)
- Gem or sequin (optional)
- Paint (optional)
How to make them:
1. Flatten the toilet paper roll and cut into even strips – I used 6 strips and they are about 15mm. (see image above)
2. Add a drop of hot glue to the ends of the flattened tubes so that you can stick them together at the centre to create a flower.
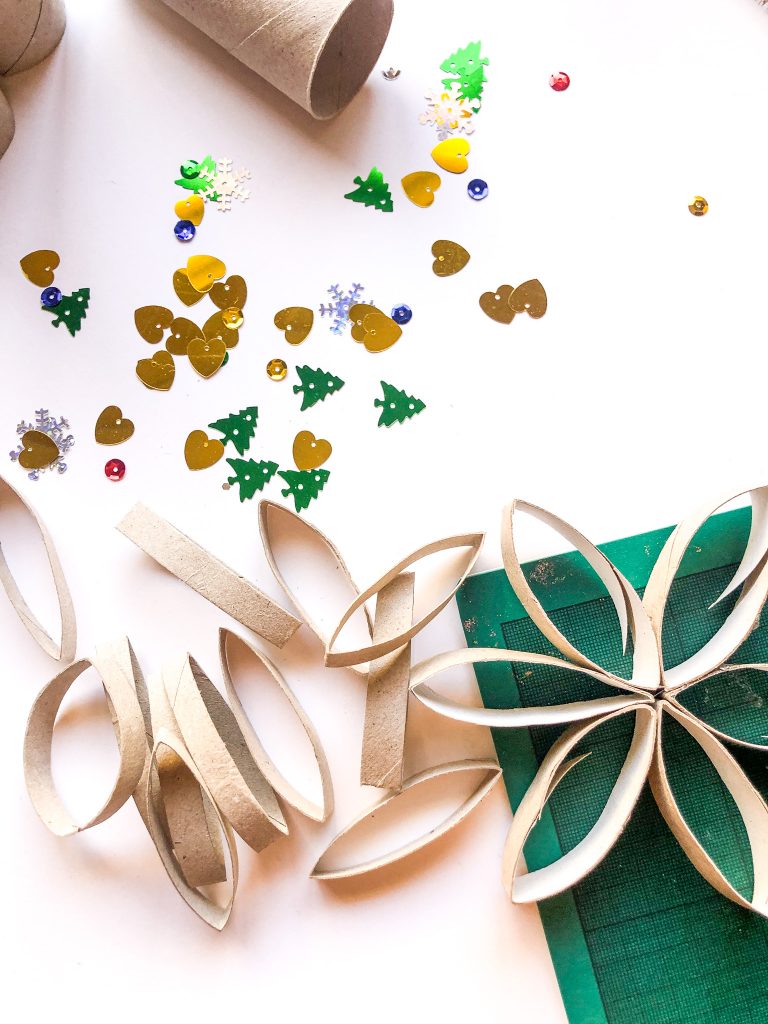
3. For the shapes between the main petals, cut more strips of toilet paper roll. I cut them slightly thinner (10mm). You will need to cut enough to fill between each main part. Since I used 6 rings, I cut 12 smaller strips to have 2 between each large section.
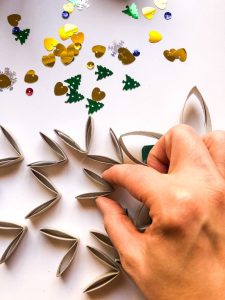
4. Fold each of the strip in half as shown in photo above.
5. Add a small dab of glue to the ends and fit them in between the main parts as shown here.

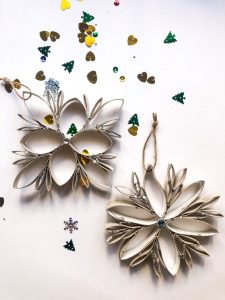
6. To add another layer, I just added another round of the same strips into the previous ones.
7. To complete the snowflake you can go over the edge with some glitter glue and allow to dry. If you like the glitter effect and don’t have glitter glue, you can dip in some white glue and then in glitter to allow the glitter to stick and dry before handling. You can also paint it at this point and allow to dry.
And here is what ours ended up like:
We hope you loved reading this. Check out our latest updates and events to keep up to date with Island Bébé.
If you and your little ones give this snowflake craft a try, let us know how it goes and don’t forget to tag your images islandbebemalta and @abirdwithafrenchfry_ on Instagram.